Wela's
Saturday, 10 May 2014
final piece
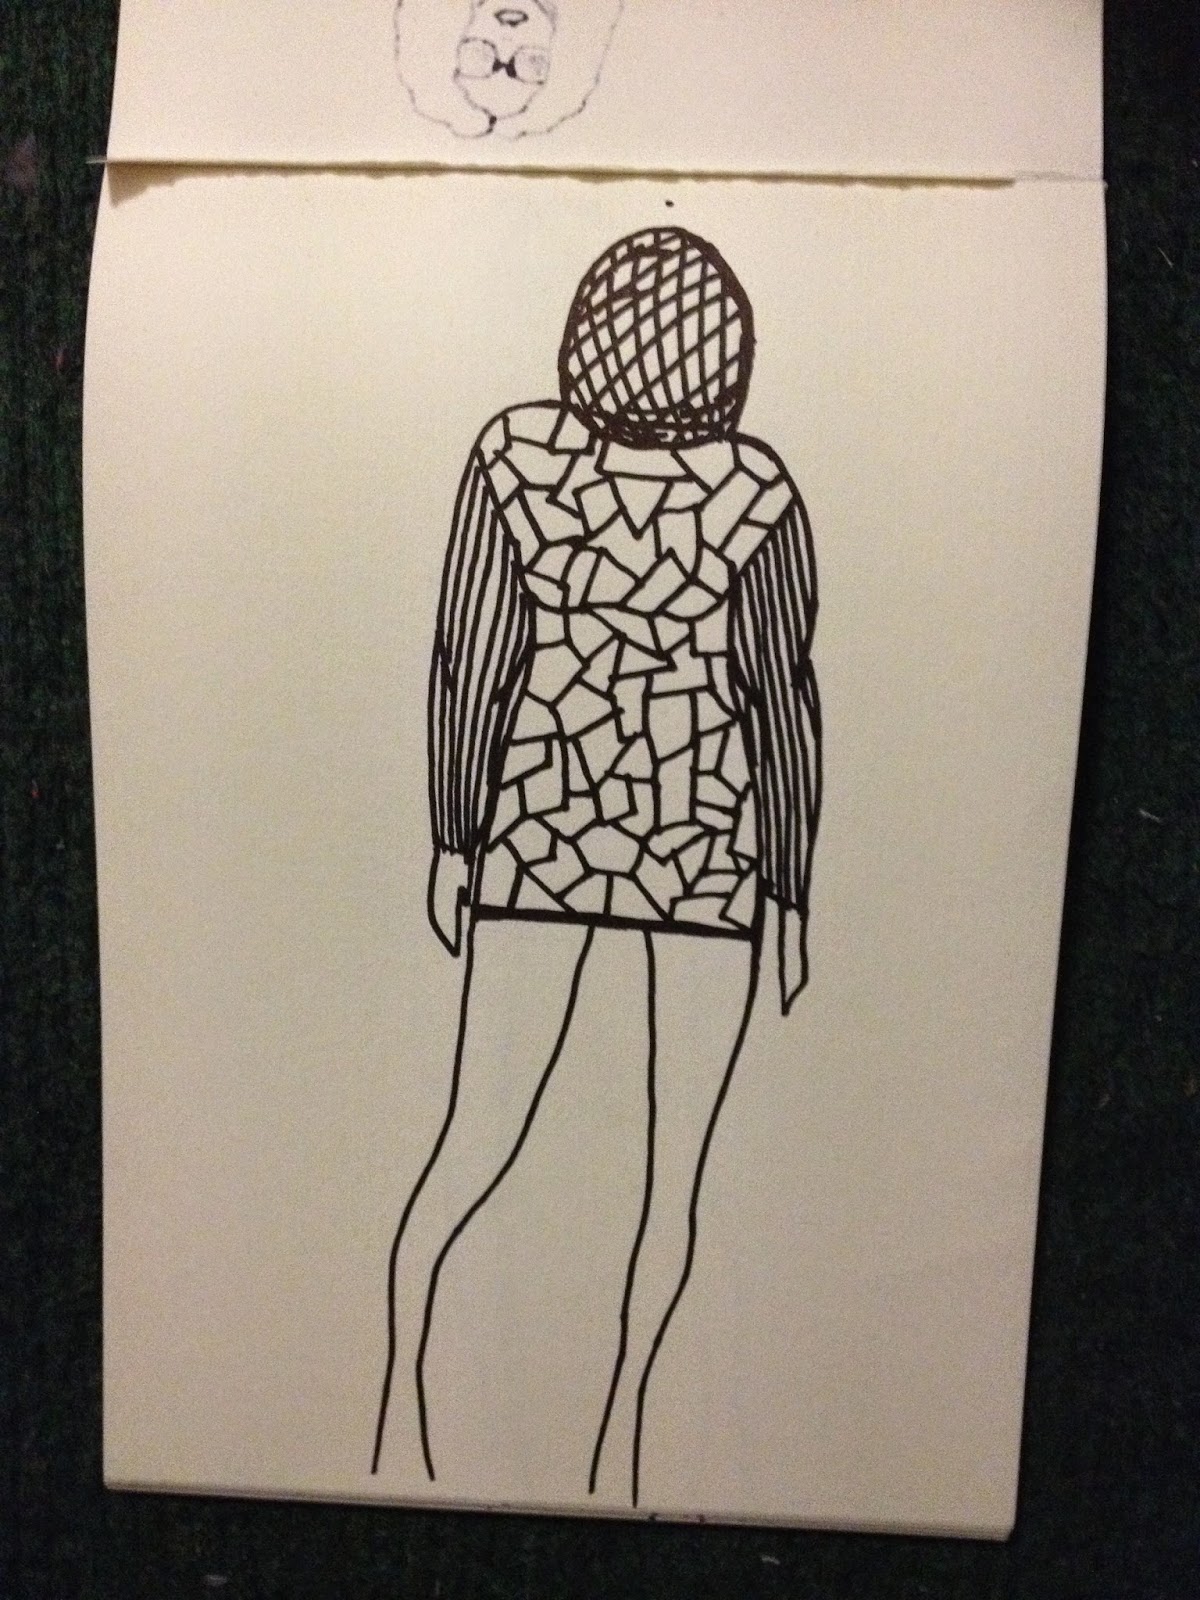
This is my final outcome of my quilted garment, which I am pleased of the outcome as it is an extremely colourful, busy, lively and vibrant garment. Although the sleeves are slightly big and puffy I think the outcome of this hoodie is successful. Obviously there are some stuff I would of liked to do differently for example my original idea for the hood was to use the piping method, but unfortunately it was too time consuming. If I were to make this garment again I would choose a thinner faux fur or maybe a swede fabric as the sleeves do look a bit big, also if I had the time I would hand stitch the crazy patchwork rather than using the pfaff machine as I personally prefer hand stitched detail to the crazy patchwork.
finishing problems on the hoodie
As I was making my garment I notice some stuff didn't work as well as I was expecting for example I had to hand stitch my pocket as the faux fur was too thick to go under a sewing machine as I broke a needle! Also I had a slight problem with my patchwork as I left a 1 and a half centimetre seam allowance on the sides of the patchwork and I must've not use exactly all of the seam allowance in some areas as the calico shows a tiny bit, but it's not noticeable only if pointed out. One other minor problem of this hoodie was I also gave too much seam allowance for the collar and so the head hole is a bit tight. These are all minor glitches and could of easily been resolved if I did not put as much seam allowance.
creating final piece
This shows my process of creating my final garment, I chose to do crazy patchwork on the bodice of the garment by sewing the patches on the pfaff machine to have the little detail included into it, which was very time consuming. I then chose to use up my faux fur and create the grid like method with the printed cotton and faux fur on both sleeves of my garment, only I had to extend the arms as the fabric shrunk whilst doing this method. I also decided to only do one pocket for the cushion warmer as the faux fur was thick enough and it would've looked too thick to add another pocket on top of it. As for the hood I decided to use my mirror sequined fabric and sow on a gorgeous sequined detailed ribbon on the edge of it. As I was doing the garment I also lined the hoodie with micro thin pink fleece and over locked my seam allowance.
http://gb.pinterest.com/welaao/unit-x-fairground/
toiles for the final piece
Here are two of my toiles for my final hoodie, the first toile I made was out of crepe fabric which was extremely thin and light and would probably be harder to work on top of. After doing this first toile I knew I wanted to use a thicker fabric, and I needed to lift the pocket higher on the garment and also I needed to amend my hood pattern to be bigger. On the second toile I decided to use light weight calico as it's thicker than the crepe and much more stable to work on top of, I also created two pockets on top of each other on this toile to see if it was better to have one for the cushion warmer and another to fit your hands in.
desings for final piece
These are few of my other designs for my final piece, where I have simply used the same shaped hoodie but looking at different ways I can use my quilt making techniques on the hoodie, for example changing what type of quilting I would put on the bodice and the arms of the hoodie.
http://gb.pinterest.com/welaao/unit-x-fairground/
design options for final piece ( hoodie)
Here is one option for my final design, I have chosen to make a hoodie as my garment as hoodies are very popular for being a very comfortable clothing and personally when I think of a hot water bottle the first things that come to my mind is feeling ill, wearing comfy hoodie and pyjamas, slouching on the sofa all warm. In this design I have created the bodice of the hoodie covered in crazy colourful patchwork as seen above, the arms done using the piping method only instead of using straws like the sample above I would use a medium width cord. And lastly the hood and the pocket where the hot water bottle would be placed in would be done using the last image method, using faux fur and cotton.
http://gb.pinterest.com/welaao/unit-x-fairground/
embelished samples using organza and shari silk
These are a few of my embellishing samples I made after having the induction on the embellisher machine. In these samples I have used recycled Shari silk I purchased from wonder wool fair, also to show the decorated Indian elephant inspiration I have used recycled Shari silk spun into yarn, very bright and lively colours, also a bit of mirror sequined fabric. Although these samples don't look like much separately I think they would look extremely unique if used for patchwork or if I simply hand stitched on top of them.
Subscribe to:
Posts (Atom)